levymetal
TURN MY HEADPHONES UP
- Joined
- Dec 29, 2007
- Messages
- 1,259
- Reaction score
- 31
- Points
- 48
- Location
- Earth
- Members Ride
- HSV ENHANCED VP CALAIS
Due to the high success and rate of requests in the Photoshop thread (and now that it has it's own subforum), I thought that perhaps people would like to learn how to Photoshop their own cars. It's fun and easy once you know how to do it, so I'm going take the opportunity to share my knowledge and teach everyone the methods I use when I do my Photoshops.
Before we get started, I'll go over a few things about the software required. I'm using Photoshop CS3 in this tutorial. However, the methods I use can be applied to any photo editing suite, even gimp will work fine if you don't want to pay for software. You'll just have to find out where the tools are that I'm using")
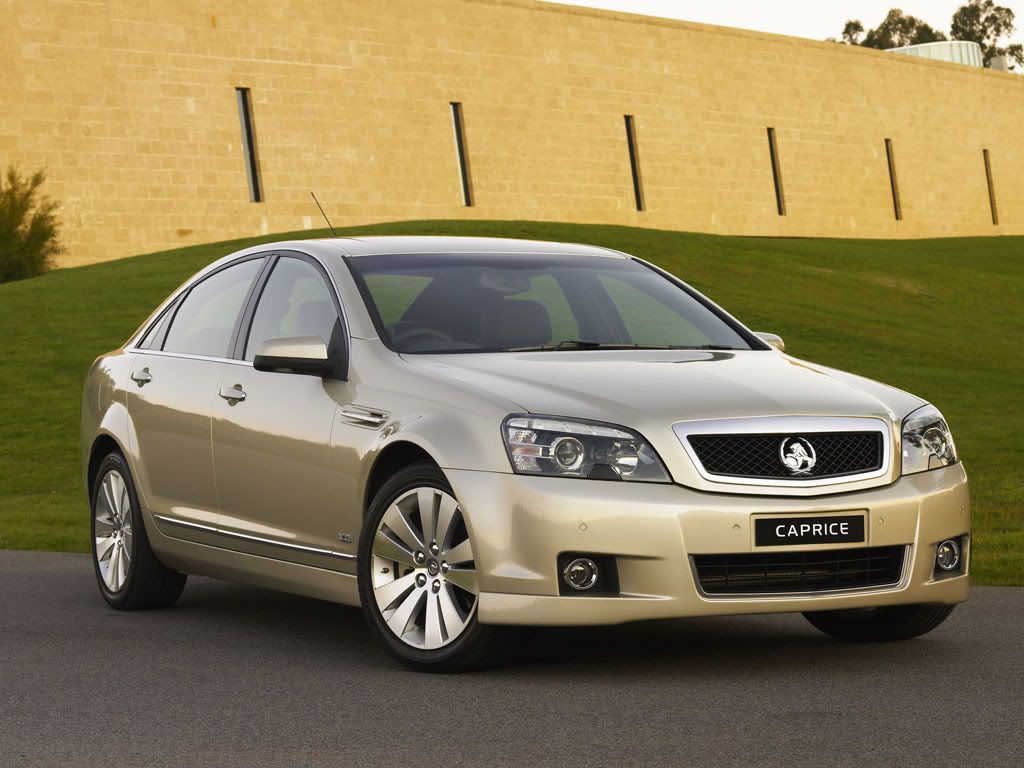
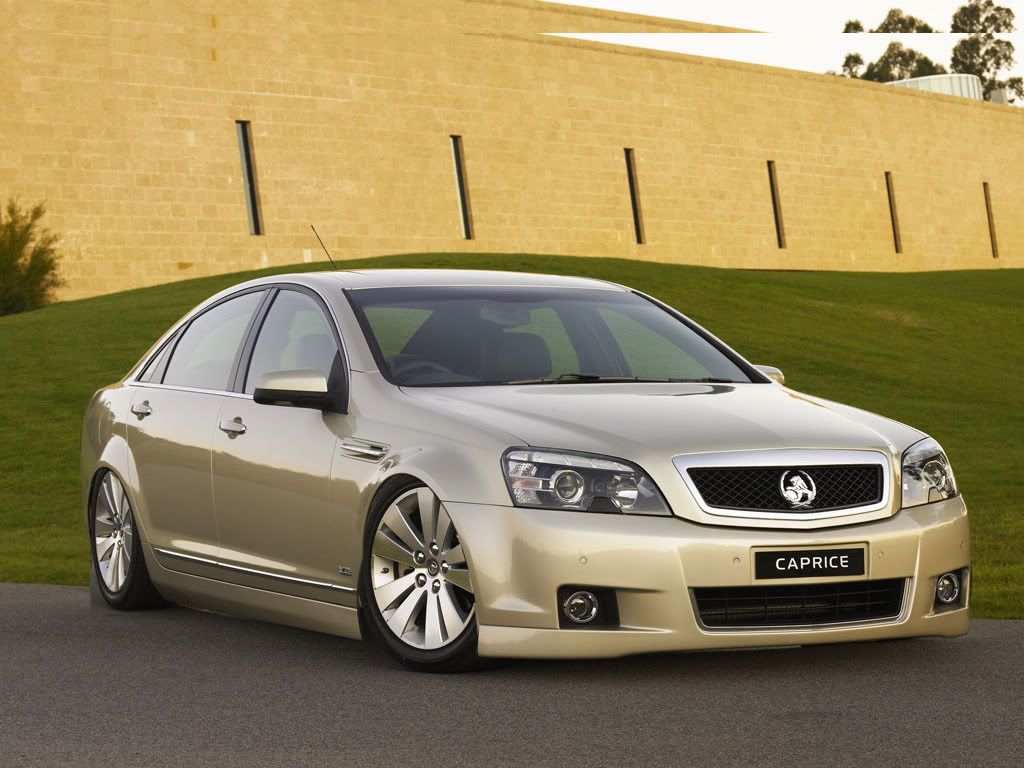
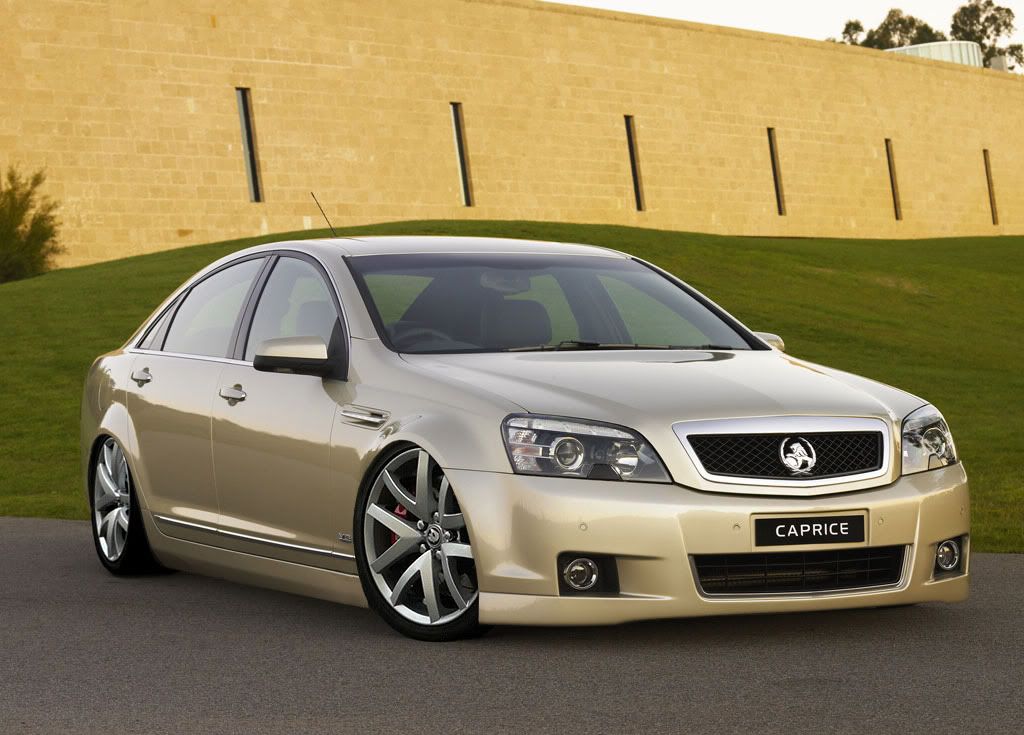
The first thing to do is find a nice, good quality picture that you want to manipulate. Most of you will be doing your own cars, so if all you have are small blurry photos, go outside and take some more! It's much easier to work on a decent photo. For this tutorial, I am going to chop a WM Caprice.
So, first thing's first, open it up in Photoshop. Now, what we want to be able to do is adjust the height of the car on the image. To do this, we will create a new layer which only has the body of the car and everything above it. There's no easy way of explaining what I want to do - so I'll just show you.
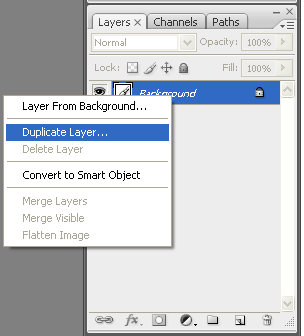
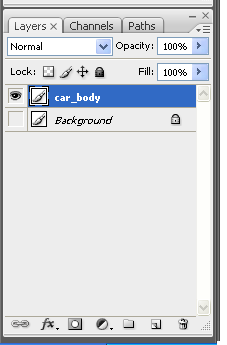
In the layers panel, right click on the background layer and click "Duplicate Layer". In the dialogue window that pops up, you can name the new layer anything. When you start mucking around with lots of layers it does become useful to name them appropriately, so in this example I have called it car_body.
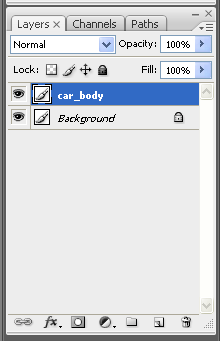
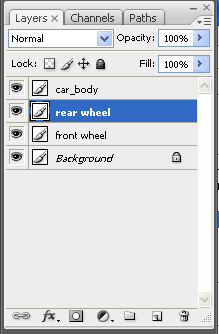
The image itself shouldn't have changed - yet. What I want you to do now is hide the background layer by clicking the little eye next to it. Then ensure that the car_body layer is selected (the selected layer is highlighted in blue). Layers panel should now look like this.
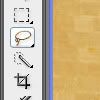
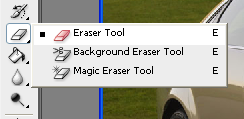
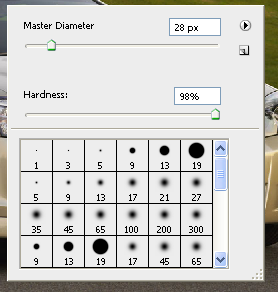
Now it's time to cut out the body. There are so many ways to do this, you can use a selection tool called magnetic lasso to automatically find the lines - but honestly, I still find using a plain old eraser the easiest way to provide the best results. The magnetic lasso only really works well on lines which have high contrast. So select the eraser tool from the tool palette. Right click anywhere on the image, and set the hardness to 98%. I find that this provides a good edge which has the perfect amount of harshness (100% is just too harsh). Set the size of the brush to whatever you feel comfortable with with the size of image you are editing. You'll end up changing the size of the brush to get into hard to reach places anyway.
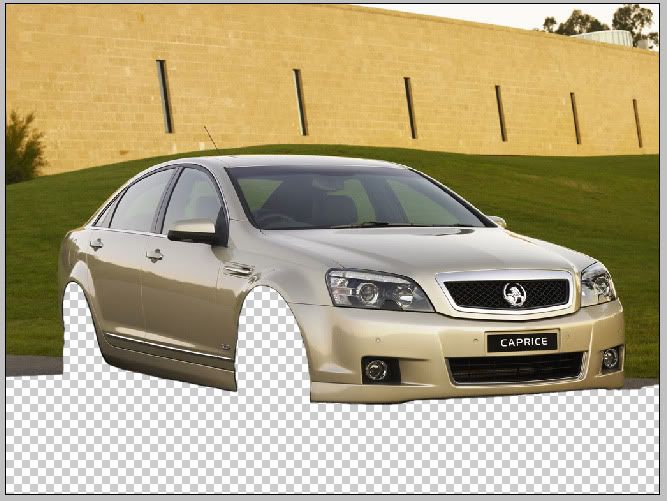
Don't worry about getting it too perfect - we'll touch it up later with the background unhidden so we can see where the defects are. If you have a problem using the eraser, just use magnetic lasso instead. For me it takes about 3 - 5 minutes to use the eraser to achieve something like this.
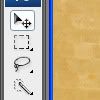
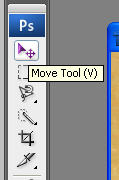
Now, unhide the background layer by clicking the little eye again. Make sure that the car_body layer is still selected, and select the move tool from the tools palette. Now press the down arrow on your keyboard until you are happy with the ride height.
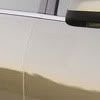
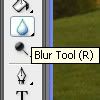
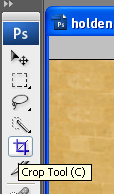
Whoops! Look at all those defects near the rear wheel. Get your eraser out and fix them up. Just have a play until it looks right. You may have noticed at the top of screen you have duplicated sky etc because you've moved the image down. Easiest way to resolve this is to use the crop tool to cut it out. Crop tool is shown below.
And the final result of lowering should look something like this.
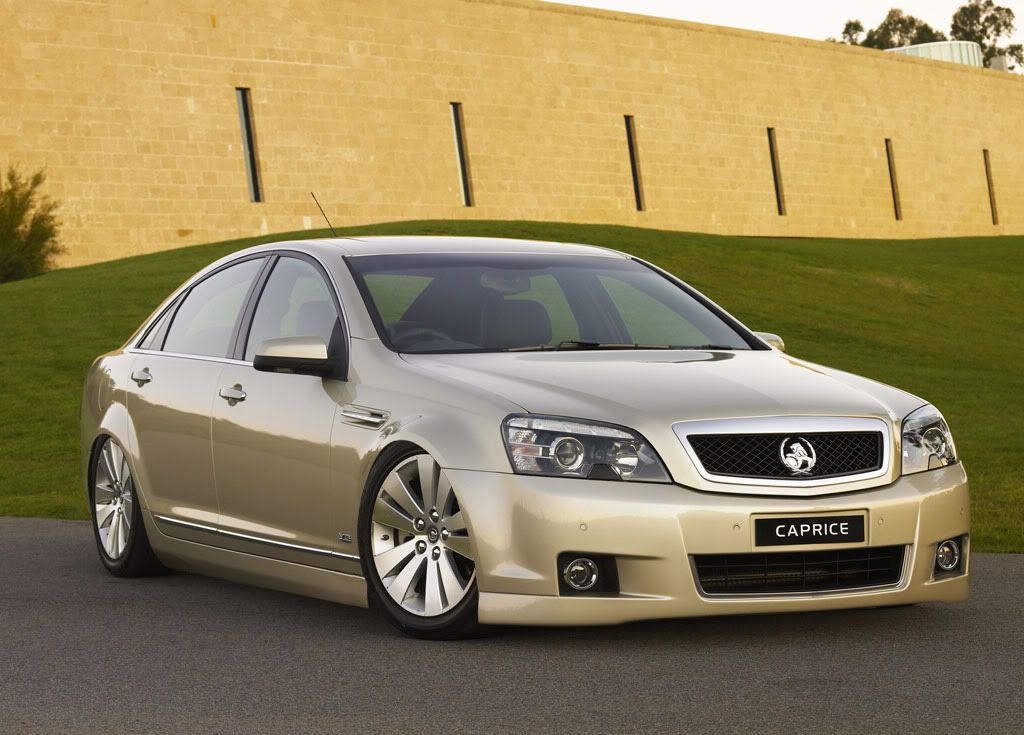
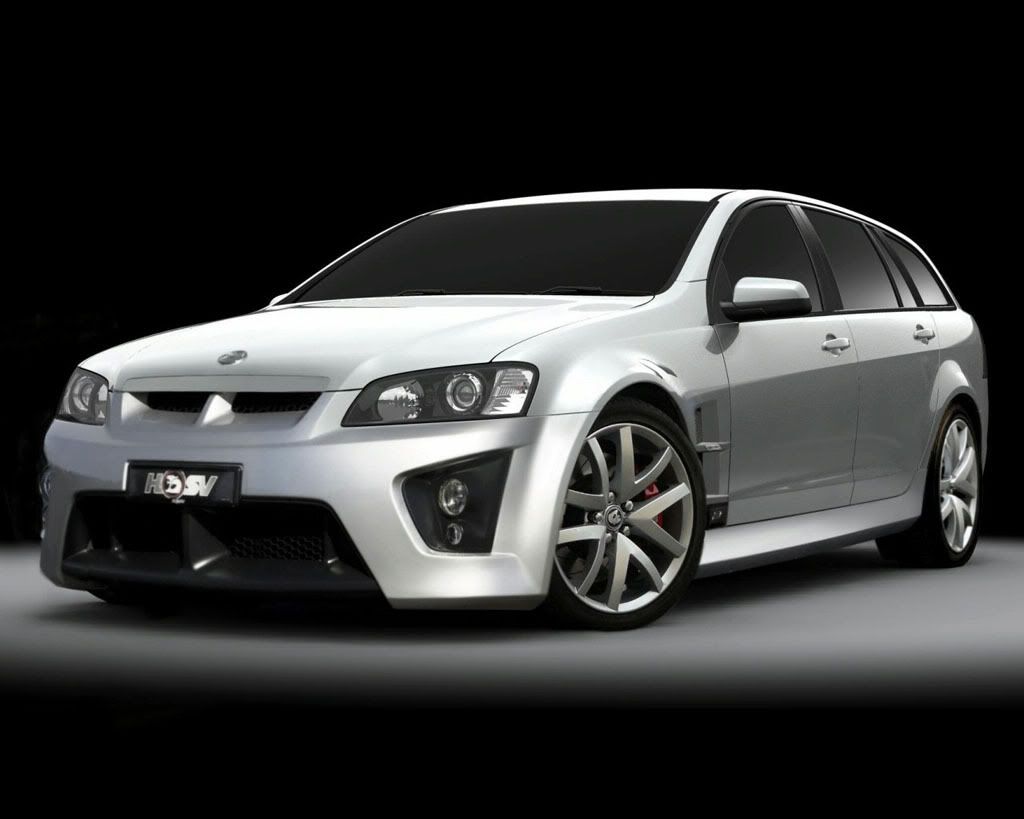
Now to do the wheels. The best results are achieved when you can find a photo of a car with the wheels you want on the exact same angle as your car. In our case, I will be using the following photo.
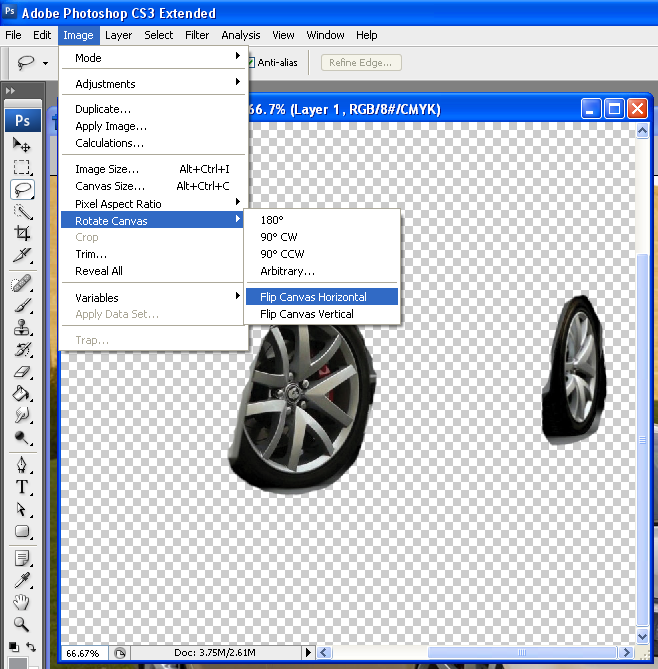
Open it up in Photoshop, and roughly cut out the wheels. Doesn't matter if it's not perfect - again we'll edit it on the image later on to get it looking good. If the image is facing the other side of the car as mine was, flip the image horizontally as shown here.
If you're aiming for realism, you should cut out both the front and rear wheels individually. You can use the same photo of a wheel for both the front and the rear - but it'll never look real because you'll be squashing a photo taken on the wrong angle. In this case I am aiming for a realistic look, so I will use both the front and rear wheels individually from my donor image.
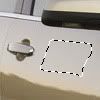
Using the selection tools, cut out 1 wheel and press CTRL + C to copy it. Now go into your lowered cars window, and press CTRL + V to paste the wheel onto a new layer. You can double click the layer to rename it, so do this for both the front wheel and the rear wheel. Position the layers as so.
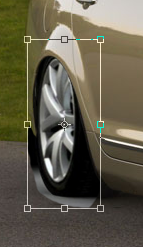
Now click on the wheel layer you want to modify and press CTRL + T to open up the free transform tool. Move the wheel into the correct position, and rotate and resize it until it looks good. Do this for both the front and rear wheels.
Now get your eraser out and erase all the crap until it looks good. Click file > save for web and devices, select JPEG, and set the quality to 60-80. When you're done, you should have something like this.
Overall I am pretty happy with the result. Took maybe 10-15 minutes to complete and although there are some small defects they are hardly noticeable.
So that concludes this tutorial, if you have any questions or get stuck anywhere just post your questions up and someone will be able to help you out. Also post any suggestions / ideas you may have about the process. Don't be afraid to have a bit of a play with all the features in Photoshop as well to figure out what they do
Peace Rabbits

Before we get started, I'll go over a few things about the software required. I'm using Photoshop CS3 in this tutorial. However, the methods I use can be applied to any photo editing suite, even gimp will work fine if you don't want to pay for software. You'll just have to find out where the tools are that I'm using
The first thing to do is find a nice, good quality picture that you want to manipulate. Most of you will be doing your own cars, so if all you have are small blurry photos, go outside and take some more! It's much easier to work on a decent photo. For this tutorial, I am going to chop a WM Caprice.
So, first thing's first, open it up in Photoshop. Now, what we want to be able to do is adjust the height of the car on the image. To do this, we will create a new layer which only has the body of the car and everything above it. There's no easy way of explaining what I want to do - so I'll just show you.
In the layers panel, right click on the background layer and click "Duplicate Layer". In the dialogue window that pops up, you can name the new layer anything. When you start mucking around with lots of layers it does become useful to name them appropriately, so in this example I have called it car_body.
The image itself shouldn't have changed - yet. What I want you to do now is hide the background layer by clicking the little eye next to it. Then ensure that the car_body layer is selected (the selected layer is highlighted in blue). Layers panel should now look like this.
Now it's time to cut out the body
. There are so many ways to do this, you can use a selection tool called magnetic lasso to automatically find the lines - but honestly, I still find using a plain old eraser the easiest way to provide the best results. The magnetic lasso only really works well on lines which have high contrast. So select the eraser tool from the tool palette. Right click anywhere on the image, and set the hardness to 98%. I find that this provides a good edge which has the perfect amount of harshness (100% is just too harsh). Set the size of the brush to whatever you feel comfortable with with the size of image you are editing. You'll end up changing the size of the brush to get into hard to reach places anyway.
Don't worry about getting it too perfect - we'll touch it up later with the background unhidden so we can see where the defects are. If you have a problem using the eraser, just use magnetic lasso instead
. For me it takes about 3 - 5 minutes to use the eraser to achieve something like this.
Now, unhide the background layer by clicking the little eye again. Make sure that the car_body layer is still selected, and select the move tool from the tools palette. Now press the down arrow on your keyboard until you are happy with the ride height.
Whoops! Look at all those defects near the rear wheel. Get your eraser out and fix them up. Just have a play until it looks right. You may have noticed at the top of screen you have duplicated sky etc because you've moved the image down. Easiest way to resolve this is to use the crop tool to cut it out. Crop tool is shown below.
And the final result of lowering should look something like this.
Now to do the wheels. The best results are achieved when you can find a photo of a car with the wheels you want on the exact same angle as your car. In our case, I will be using the following photo.
Open it up in Photoshop, and roughly cut out the wheels. Doesn't matter if it's not perfect - again we'll edit it on the image later on to get it looking good. If the image is facing the other side of the car as mine was, flip the image horizontally as shown here.
If you're aiming for realism, you should cut out both the front and rear wheels individually. You can use the same photo of a wheel for both the front and the rear - but it'll never look real because you'll be squashing a photo taken on the wrong angle. In this case I am aiming for a realistic look, so I will use both the front and rear wheels individually from my donor image.
Using the selection tools, cut out 1 wheel and press CTRL + C to copy it. Now go into your lowered cars window, and press CTRL + V to paste the wheel onto a new layer. You can double click the layer to rename it, so do this for both the front wheel and the rear wheel. Position the layers as so.
Now click on the wheel layer you want to modify and press CTRL + T to open up the free transform tool. Move the wheel into the correct position, and rotate and resize it until it looks good. Do this for both the front and rear wheels.
Now get your eraser out and erase all the crap until it looks good. Click file > save for web and devices, select JPEG, and set the quality to 60-80. When you're done, you should have something like this.
Overall I am pretty happy with the result. Took maybe 10-15 minutes to complete and although there are some small defects they are hardly noticeable.
So that concludes this tutorial, if you have any questions or get stuck anywhere just post your questions up and someone will be able to help you out. Also post any suggestions / ideas you may have about the process. Don't be afraid to have a bit of a play with all the features in Photoshop as well to figure out what they do
Peace Rabbits